Deploy WordPress on Cloudways
A walkthrough of a fresh WordPress deploy on Cloudways at the level of the panel's real flow: create the server, add the application, point the domain, issue TLS, wire Git deployment, and take the first backup before you call it production.
What you will build: a production WordPress site on Cloudways with the domain pointed, TLS issued, Git deployment wired and a first backup taken. Written at the level of the panel's real flow, so the steps stay accurate through small changes to the interface.
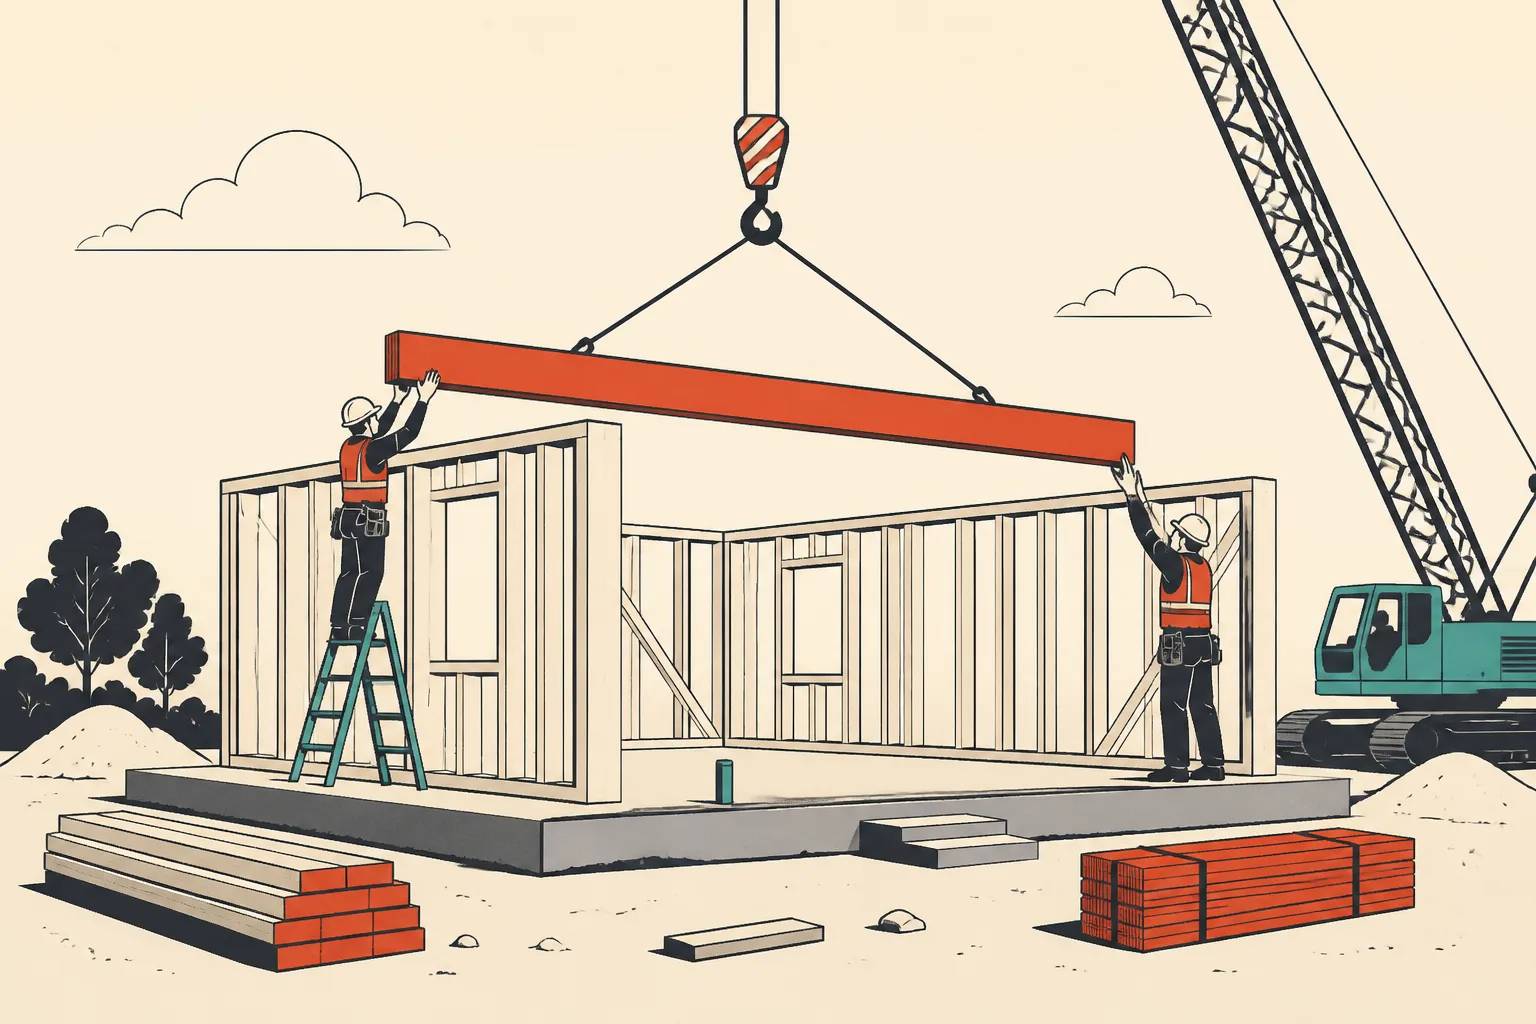
What you will build
What you will build: a production WordPress site on Cloudways with the domain pointed, TLS issued, Git deployment wired and a first backup taken. Written at the level of the panel's real flow, so the steps stay accurate through small changes to the interface.
By Sam Moreton
First-hand testing
What you will build
By the end of this walkthrough you will have a production WordPress site on its own Cloudways application: a server to run it, a domain resolving to it, a TLS certificate in front of it, Git deployment wired for code changes, and a first backup taken. The steps below follow the flow as the panel structures it. Interfaces get restyled and labels move, so I keep to what each step is for and what finished looks like.
Create the server
From the account dashboard you create a server: choose the cloud provider and the region, then the size. Region is the easy decision, nearest to your audience. Size trips people up, and the short answer is to start one step under your instinct, since resizing later is one click and preserves everything. The server size guide covers that decision properly.
The server takes a few minutes to build and arrives with the stack already on it: web server, PHP, database, server-level caching. You never install any of that by hand.
Add the WordPress application
On the new server you add an application and pick WordPress from the application types. Give it a name and a project to live under. The install itself is quick, and two things arrive with it that are worth knowing about: WP-CLI is available for command-line work, and the Breeze caching plugin is preinstalled, because caching on this platform is a built-in part of the stack.
The application gets a temporary URL immediately. You will use it to reach the site before real DNS exists, which matters more than it sounds later in this walkthrough.
Point the domain
DNS stays wherever it lives today; moving hosting does not force you to move DNS. At your DNS provider, create the record the panel asks for, an A record or a CNAME pointing at the application, and in the panel set your domain as the application's primary domain.
Propagation is the boring part: minutes to hours depending on the record's TTL. Until it completes, the temporary URL keeps working, so you can build content in parallel instead of waiting on DNS.
Turn on TLS
Once the domain resolves, the application can issue a free Let's Encrypt certificate from the panel with a click, and renewals are handled for you afterwards. Verify the padlock, then set the application to redirect HTTP to HTTPS. This step costs minutes and skipping it costs credibility: a production site served over plain HTTP looks unfinished to every visitor who checks.
Wire up Git deployment
For a site whose code you will maintain, connect the application to a Git repository in the panel: point it at the repository, pick the branch to track, and deploy. The platform can auto-deploy when changes land in that branch, which turns a push into a deployment.
What belongs in the repository deserves a sentence, because WordPress shapes the answer. Most people track their theme, custom plugins and build configuration, and leave WordPress core, uploads and the database out of Git. Deployment then delivers code changes, while content lives in the database, where content lives.
Check the caching
Caching is on by default at the server level and through Breeze, but defaults deserve one explicit check: load a public page and confirm the response says it was served from cache, then confirm your deploys purge what they need to. Five minutes here prevents most "my changes do not appear" mysteries from ever becoming mysteries.
Take the first backup, then rehearse the restore
Take an on-demand backup from the panel right now, before the site accumulates anything, so the habit starts early. Automated backups run offsite on a schedule, and an on-demand backup before risky changes is always available. The restore deserves the same respect as the backup, and the safe place to rehearse one is a clone: the method is written up in how to test a Cloudways restore safely.
Before you call it production
A short list. Confirm the search engine visibility setting reflects your intent, since WordPress sometimes installs with discouraging defaults. Create your real admin user and remove anything generic. Set permalinks and the timezone. Keep the plugin list short, because every plugin is a standing invitation to a future update problem.
If you arrived here with an existing site on another host, this page is the wrong one: moving a WordPress site to Cloudways covers the migration paths, including the one where their engineers do the first move free.
Affiliate link